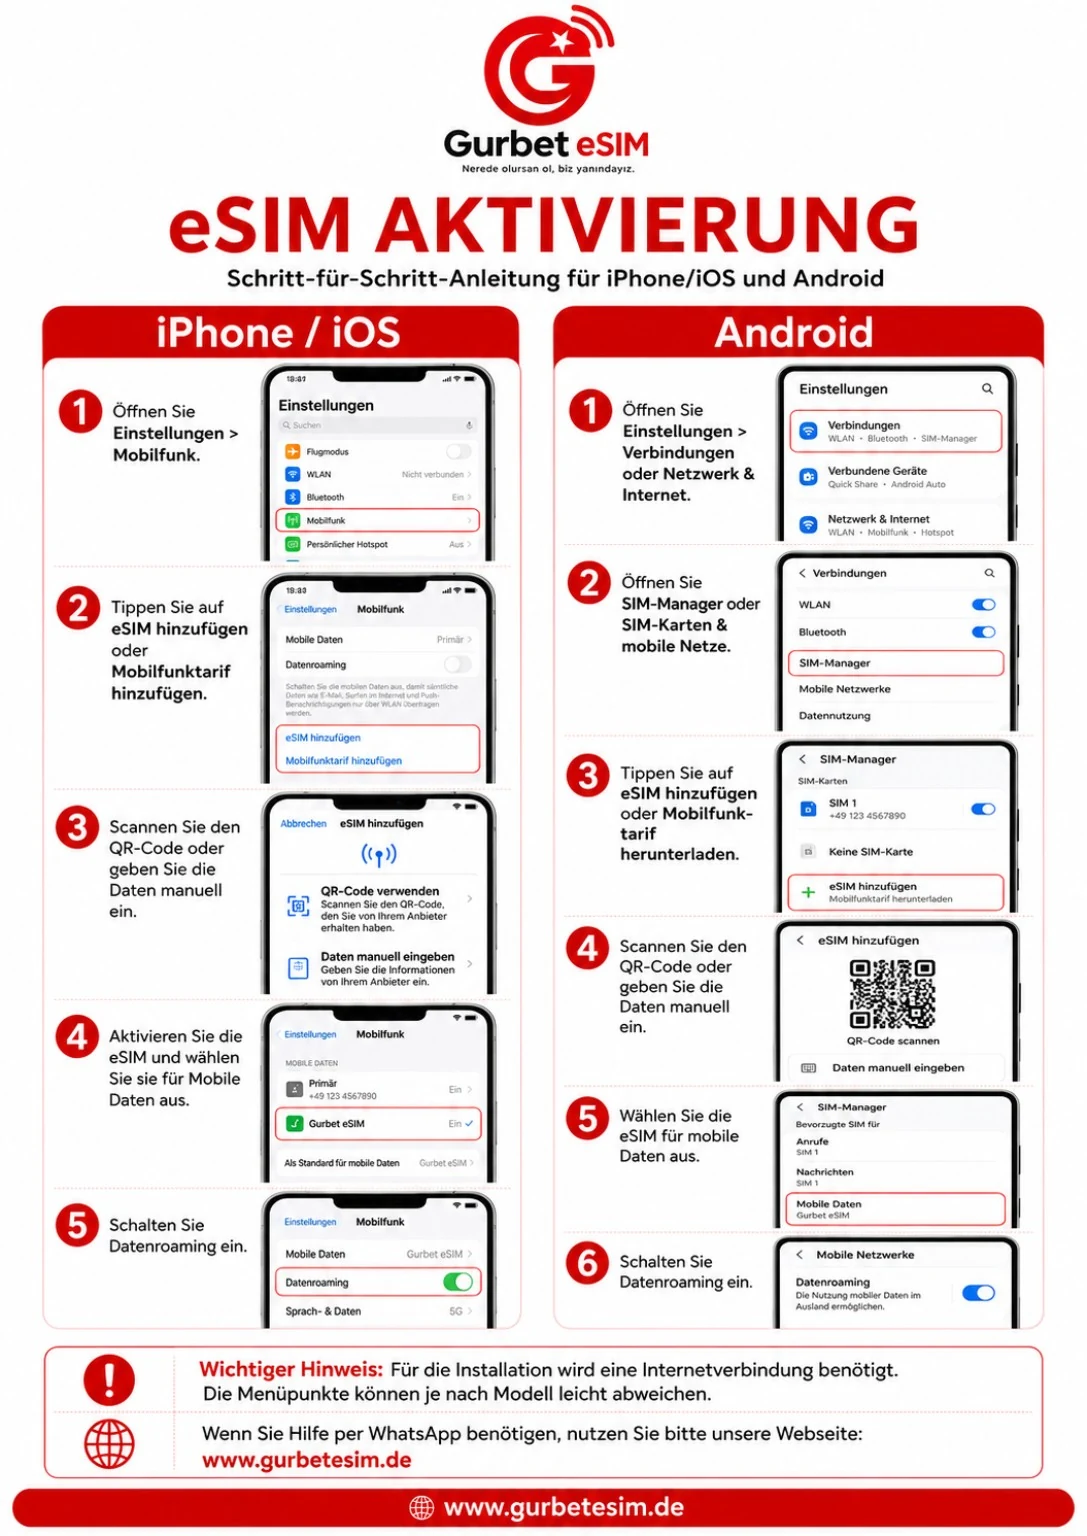
Open Settings
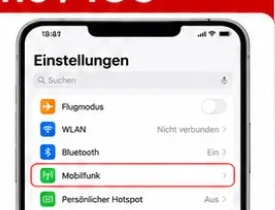
Open “Settings” and go to “Mobile Service” or “Cellular”.

Install your Gurbet eSIM step by step.
Updated July 2026 · iOS 26.x · Android 17Open “Settings” and go to “Mobile Service” or “Cellular”.
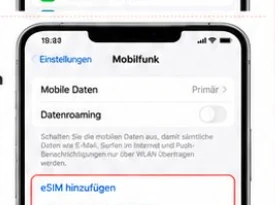
Tap “Add eSIM” or “Add Mobile Plan”.
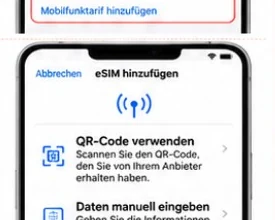
Select “Use QR Code” and scan the code from your email.
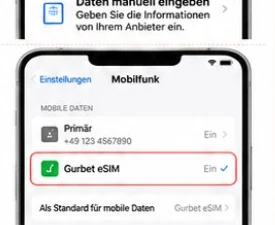
Select Gurbet eSIM for mobile data.
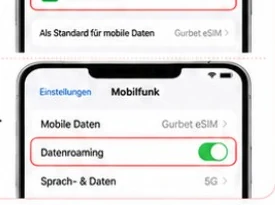
Enable data roaming for the travel eSIM.
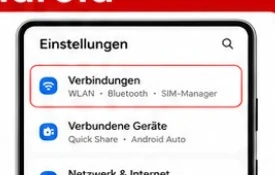
Open “Settings” and go to “Network & Internet” or “Connections”.
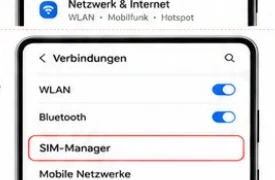
Tap “SIMs”, “SIM manager” or “Mobile network”.
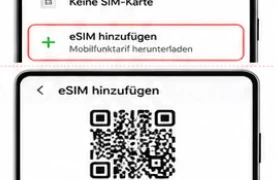
Select “Add SIM”, “Set up eSIM” or “Download a mobile plan”.
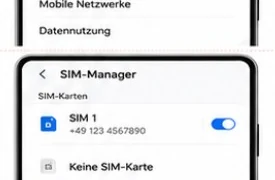
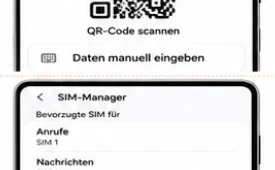
Scan the QR code from your order email.
Select Gurbet eSIM for mobile data and enable data roaming.
An internet connection is required for installation. Menu names may vary slightly by device. To avoid unexpected roaming charges, disable data roaming on your regular SIM or remove it temporarily.